Hi readers! (those left!) In order to not be a completely failed blogger, I thought I'd post a round up of my makes this year just in time!
As you all should know by now, you can find me regularly on instagram @oldhousemamawears where a regularly post my makes and other tidbits of my life! If you don't follow please do!
However in the interested of blogger posterity, here's a round up! I wanted to make some fancy infographics like I've seen other awesome bloggers do, but who am I kidding! Here are my photos, gathered loosely in a couple of themes.
I'll end off with some goals and plans for next year. Happy New Year everyone!
SELFISH SEWS- I made 37ish things for me this year! not bad!


Yalu Coat, Saith Tunic, Self Drafted Apron


Ginger Jeans! - First attempt at jeans and loved it! and another new favourite the Inari Tee Dress

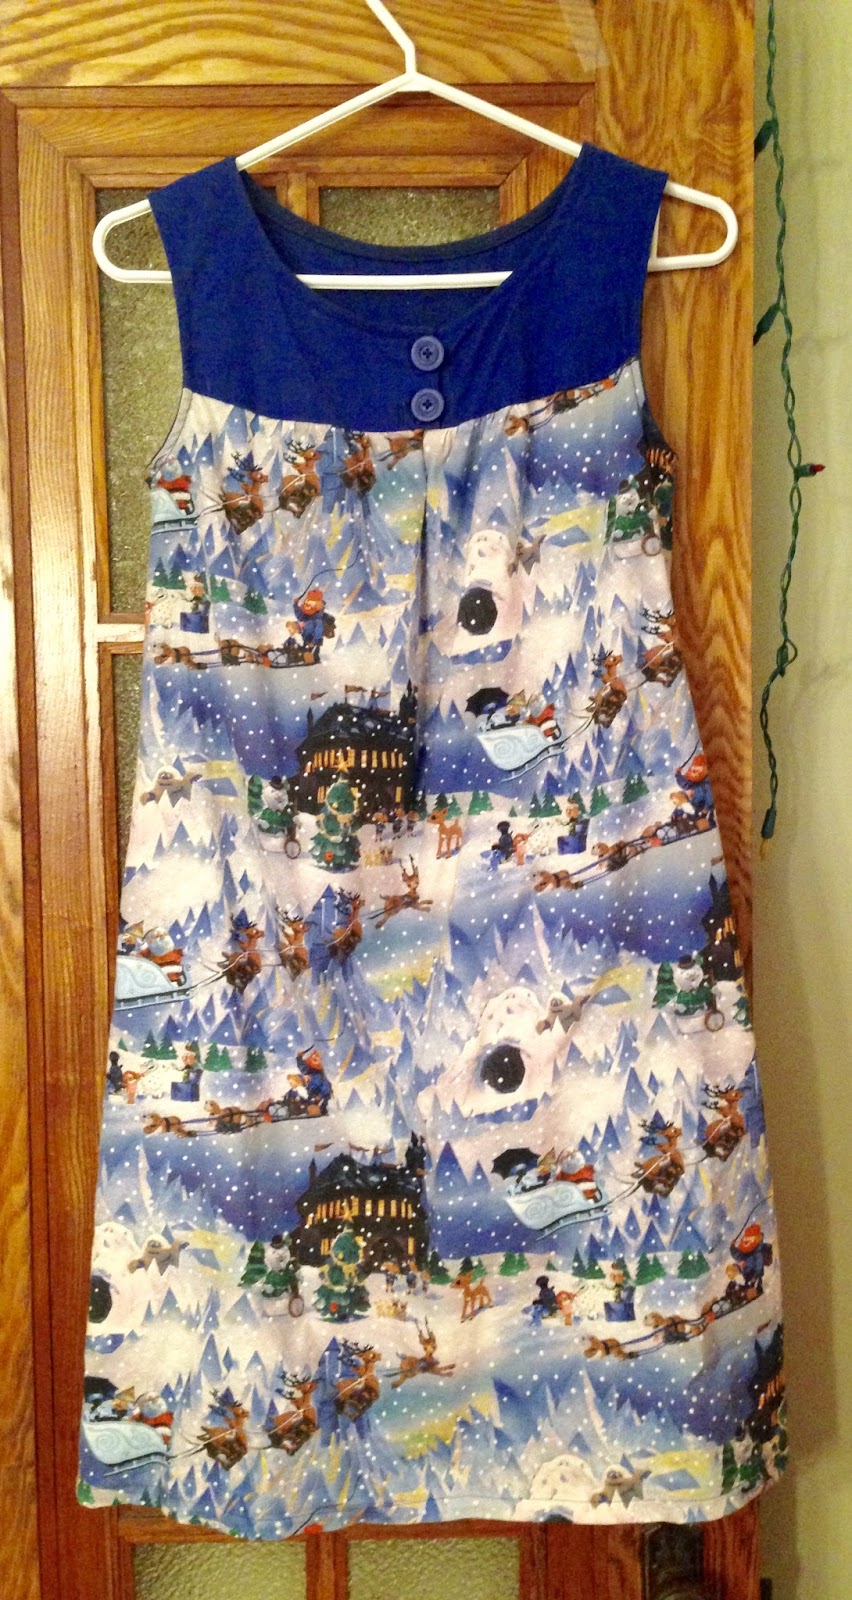
Saith Tunic (ok I made it last December, but close enough), Charleston Dress, Mesa Dress (I love this pattern!)


Texana Tank x 2 and Blanc Tee

Dress E from Stylish Party Dresses (Japanese Pattern book), Hannah Dress (this is a favourite!) and Colfax Dress

Splash Swimsuit (Left and Right) and Soma Swimsuit (Middle)

Everyday Skirt x two and another Inari Tee


KIDS AND OTHER
I did instagram some of my kids stuff and didn't really make as much as my kids didn't need to much. I made a few more things for the Mr. and tried my hand at a few more bags! I've learned that I dislike how long it takes to make bags and am reminded every time I sew for my kids how quick it is and I should do it more!

A few more Recess Raglans (my go to for a raglan tee) and Alex and Anna PJs (my go to as well!)

Stellar Tunic, Self drafted Car poncho, Twisted Trousers


Maker's Totes x Two, Art Tote, and Pencil cases
GOALS FOR NEXT YEAR
1. Sew some lingerie!
2. More separates, less dresses (HA!)
3. Make more jeans!
4. Have more fun!
Thanks for reading and Happy New Year! Maybe I'll even blog again before next December.